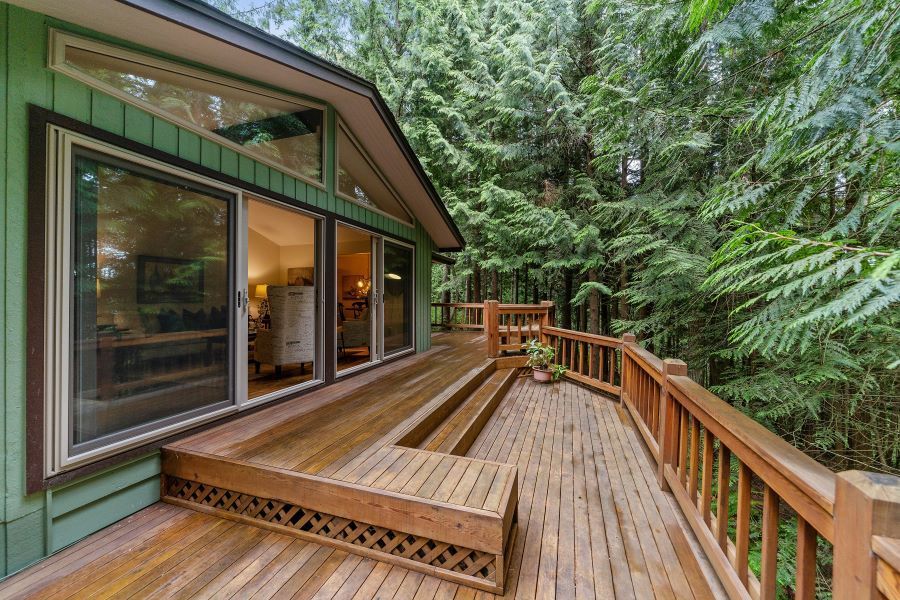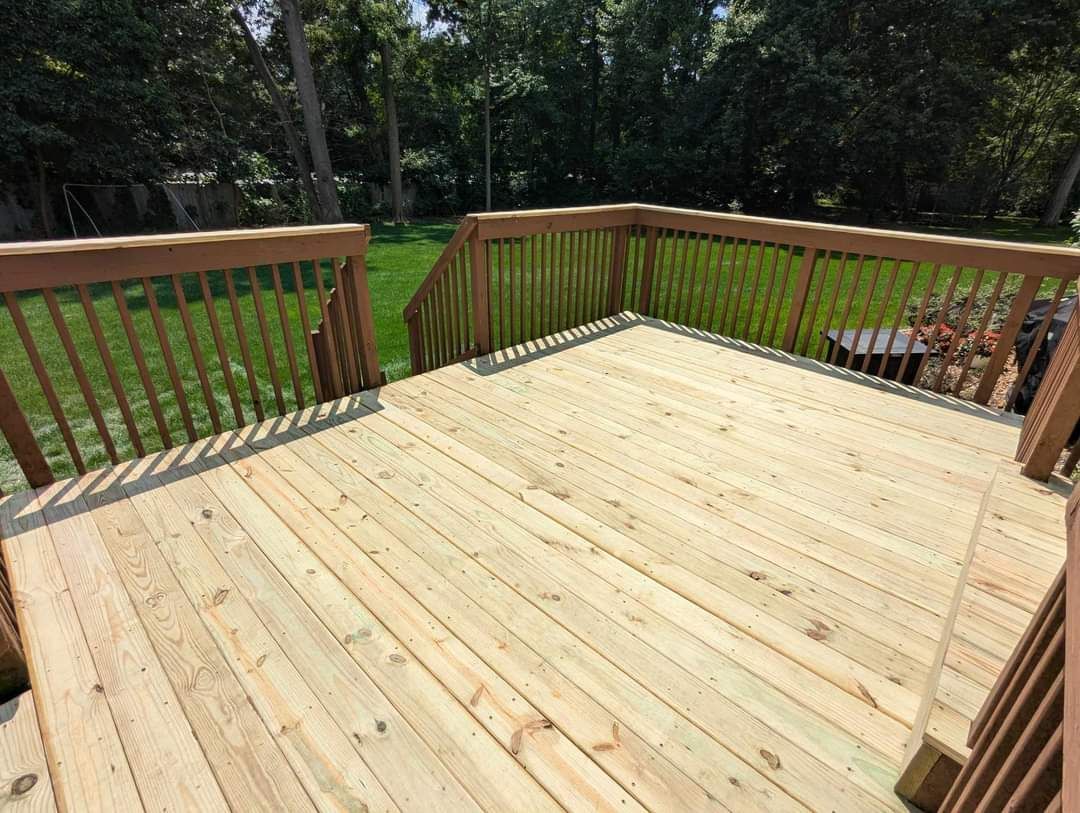
Now that the weather is warming up, it is a good idea to take a few minutes to inspect your deck for signs of deterioration. Deck repairs are easiest in early spring before the structure gets heavy use during spring and summer. Below are a few helpful hints to make sure your deck is in shape for the warm months:
Boise Deck Repair Tips
- Look for any loose, soft or cracked wood that could be unsafe if not corrected.
- Replace any decking boards that have too much give, or feel spongy when you walk on them.
- Handrails should be secure and not wobbly.
- The deck posts should not show signs of rot at the bottom. Push a screwdriver into any areas that show damage. If the point of the screwdriver goes into the wood, it is time to get it repaired.
- The deck board against the house should not have any gap between it and the house. It should also not have any rot or deterioration.
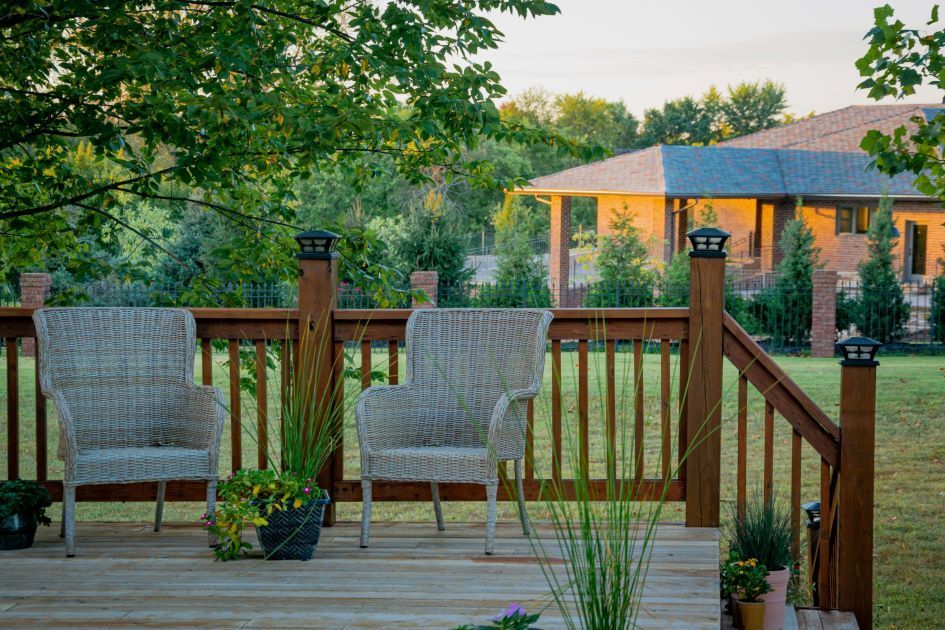
- Balusters (vertical slats on the rails) shouldn’t be more than 4 inches apart.
- Apply sealer to any exposed wood. Pressure-wash if necessary to clean the deck prior to sealing.
Now is the time for all good men and women to come to the aid of their neglected decks!
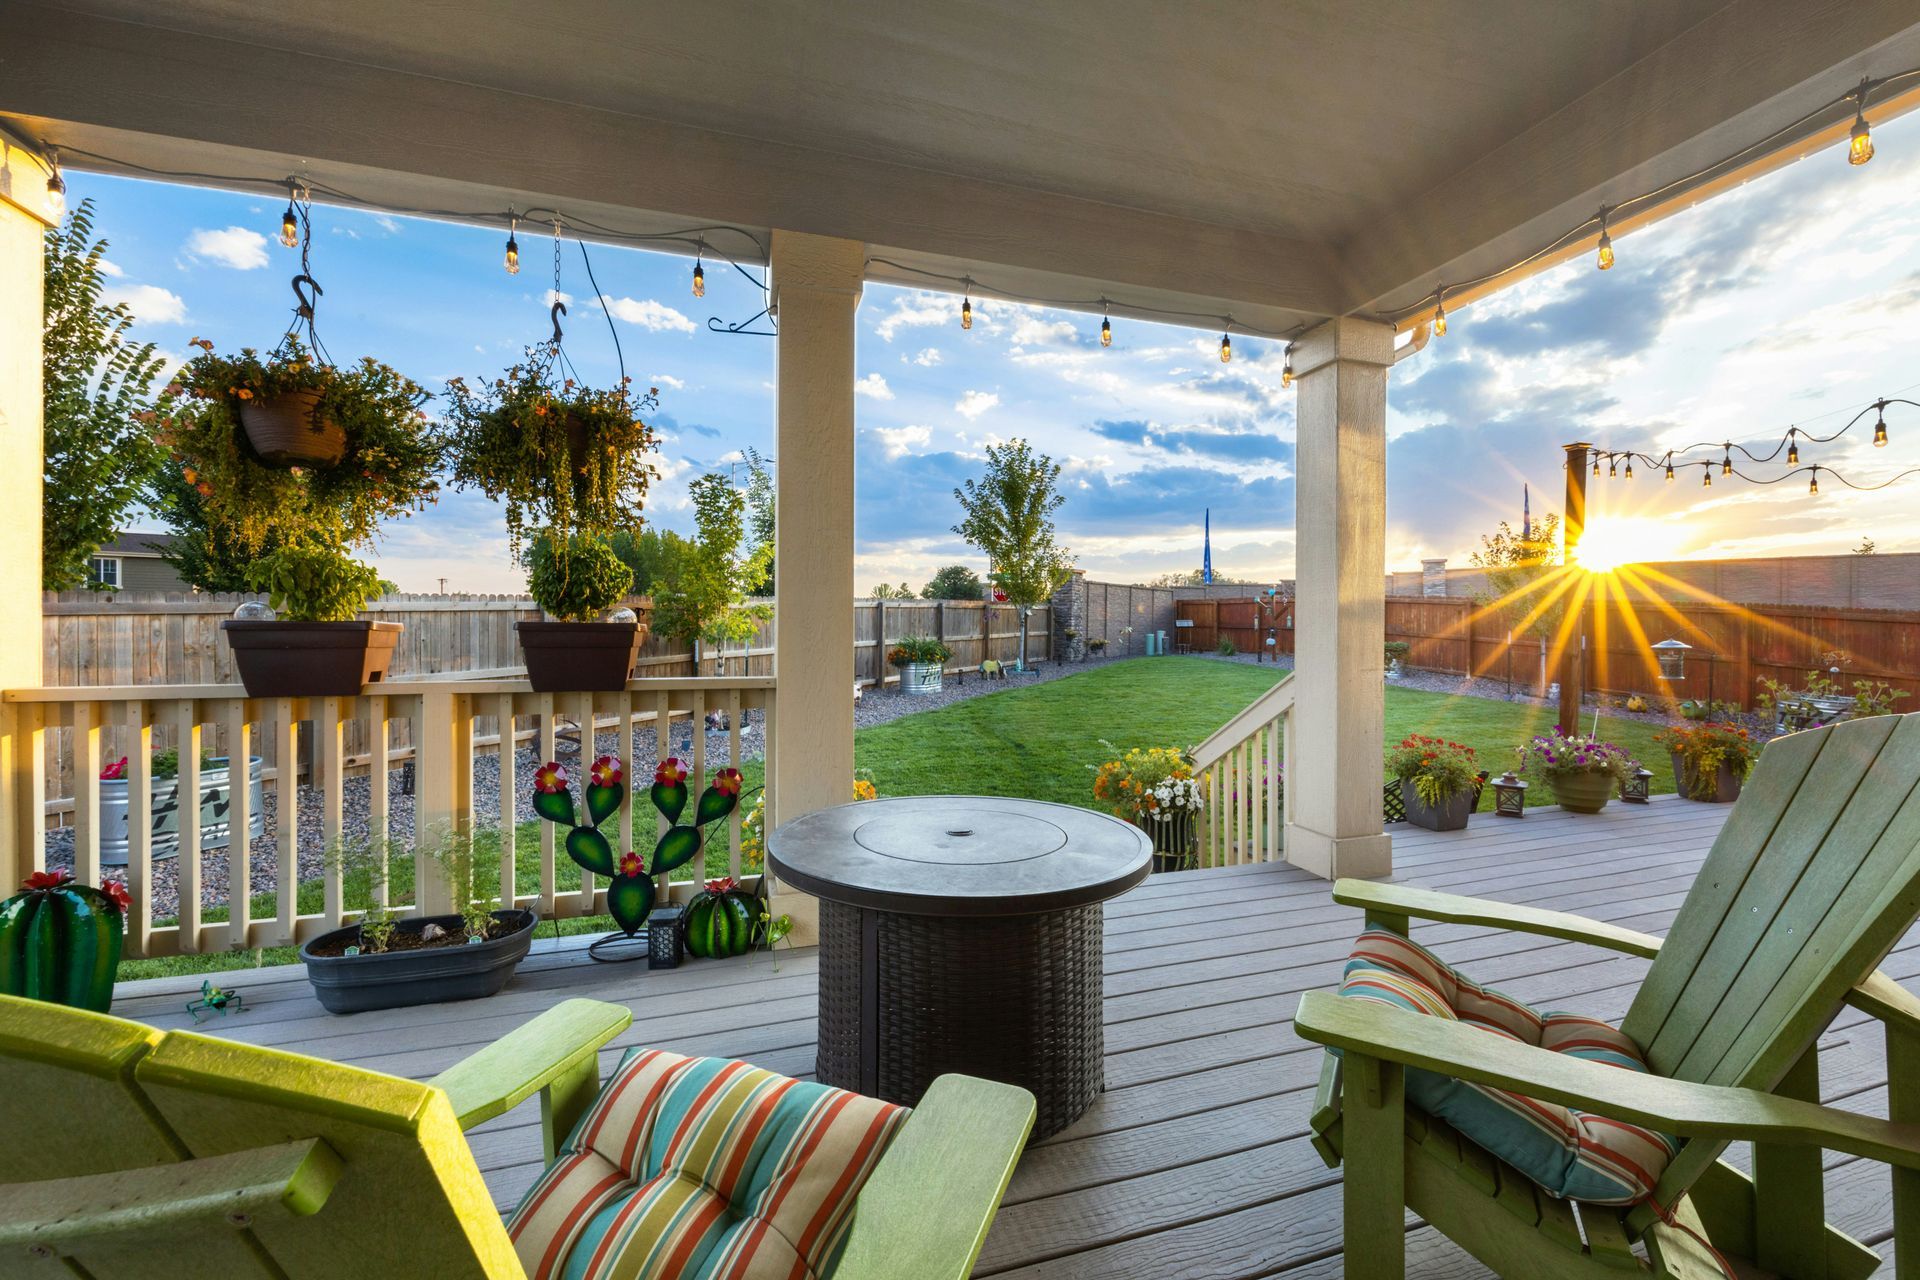
Like many home maintenance efforts, simple timely repairs can often prevent more difficult, time-consuming and expensive ones later. Like some other maintenance work, deck repairs can also be a matter of safety, such as when you secure a loose railing or replace a rotten stair tread.
Fortunately, the basic carpentry skills and tools required make this project within reach of most homeowners. Giving the deck a thorough cleaning is the best place to start. Next, set nails and sand rough or splintering deck. Use a Cat’s-Paw-type nail puller and pry bar to remove damaged decking.
Also, replace treads that are rotten or otherwise damaged. Secure posts that are inadequately nailed or screwed in place. When all cleaning and repairs are complete, treat your deck to a coat of water-repellent stain. Even pressure-treated wood requires such annual protection.
- Before You Begin: Every spring, make a careful inspection of your deck to determine which repairs may be required. Are railings, especially those around stairs, solidly fastened? Is the surface splintered or covered with algae? Does any decking or framing need to be replaced? Make a list of all the work to be done and material needed. On a nice sunny weekend, gather or rent the necessary tools, including safety gear, such as goggles and kneepads.
- Rent a Pressure Washer for the Day: You’ll have so much fun cleaning the deck that you won’t want to stop there. Walks, driveway, car … but please, not the dog!
- Scrub Deck: Start with a good cleaning. Scrub the decking surface until it’s clean and free of slippery green slime (algae). Use a garden hose with power nozzle, and an old knife or similar tool to get out dirt and debris from between the cracks. Use one of the many commercial deck cleaners available and follow instructions on the label. Deck restorers can be used in place of cleaners to restore the original color of the wood. They are sprayed and/or scrubbed on, and then hosed off.
- Secure Nails: As wood expands and contracts, nails may “pop” above the surface, presenting a tripping hazard. Use a hammer and nail set to drive them below the surface. Do this, too, if you plan to sand (next step). Raised nail heads will quickly shred your $2 sanding belt.
- Sand Wood: Sand rough surfaces. Pay special attention to splintered areas and to handrails. Use a power sander, such as the belt sander shown here, with 80-grit paper. Large shard-like splinters follow the grain and sanding out may cut too deeply. Use a hammer and chisel to cut these spears off at the base and sand and rough edges.
- Remove Damaged Wood: Cut out a section of a damaged board rather than replace the entire board. Use a jigsaw to crosscut the board adjacent to a joist. Cut a 2 x 4 block; bore clearance holes for two 3-in. no. 8 exterior screws; and secure it to the joist at the repair location. Cut a board to fit; and secure it to the nailer and any joists with screws.
- Secure Boards: Use 3-in. no. 8 exterior wood screws and a drill-driver to secure 2x decking. Drill clearance holes (equal to screw diameter) through the decking only when attempting to draw down warped or cupped boards, and at the ends of boards to prevent splitting. If available, use the drill’s torque setting to prevent snapping off screws due to too much force.
- Repair Stairs: Cut through the middle of any damaged stair treads to remove it. Measure and cut new board. Treads may be set into a dado or nailed to a cleat attached to the side of a stair stringer. If there is a notched stringer in the center of a wider set of steps, use a nail puller. (Prying or banging may split the vulnerable stringer.)
- Replace Tread: Cut a replacement tread and insert it into the dados in the stringers. If you have a pipe clamp, use it to draw the stringers tight against the edges of the tread before fastening it with three 2-1/2-in. no. 8 exterior decking screws. Do the same if cleats are employed, but make sure they are sound and securely screwed to the stringers.
- Secure Railing: Nails and screws are inadequate to secure railing posts. If your older deck was built this way, bring it up to code. Use a spade drill bit and bore clearance holes through the post and perimeter joists and install two 5/16- or 3/8-in. through-bolts (length to suit, and with washers of both ends) at each post location, especially at any steps.
In general, decks suffer from a number of common problems. With normal wear and tear, wood planking becomes loose or cracked. Boards that start to give too much can result in nasty trips. Handrails start to loosen. The support posts grow old.
Why Choose A1 Handyman For Deck Repairs?
All of these issues are correctable, and A1 Handyman has the expertise to fix them correctly. We will come to your home, examine your deck, and make the necessary repairs to ensure that your deck is ready for the spring and summer seasons. By starting right away, we won't waste your time, and you won't have to call multiple contractors for a single project. Taking care of these small repairs and maintenance tasks will lengthen the lifetime and beauty of your deck for years to come.
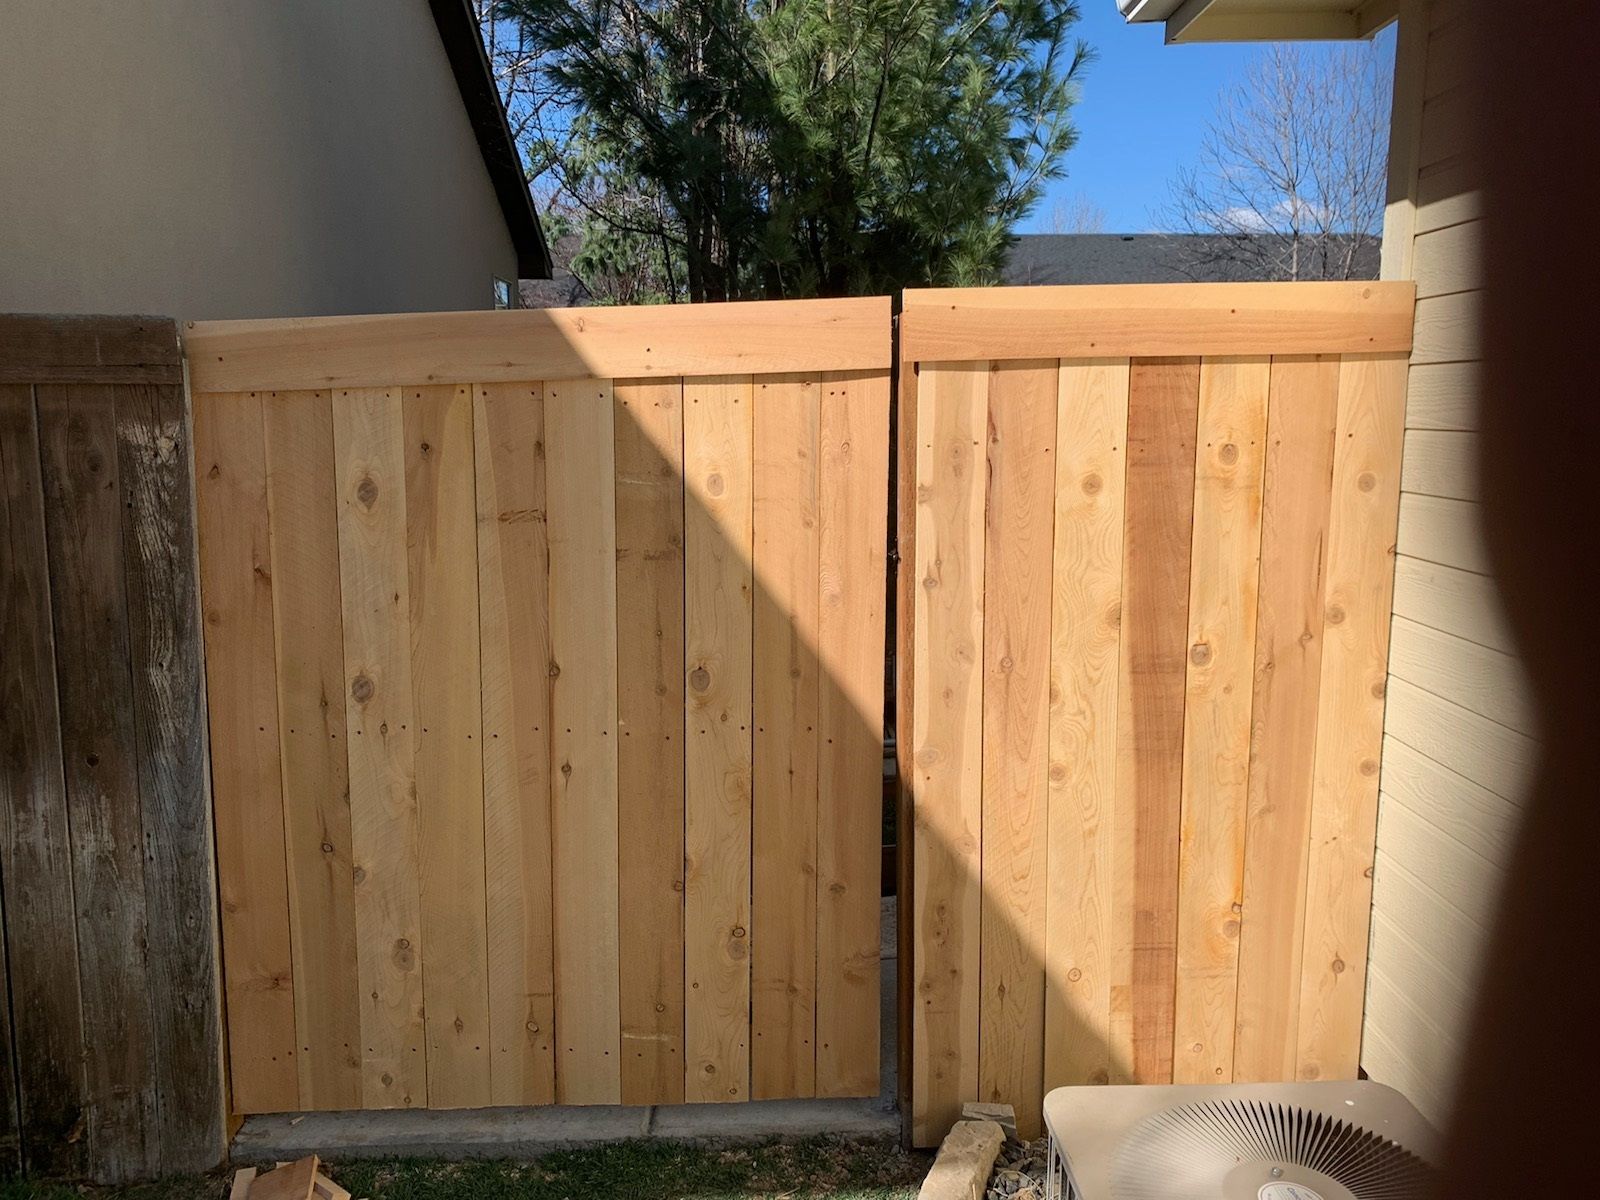
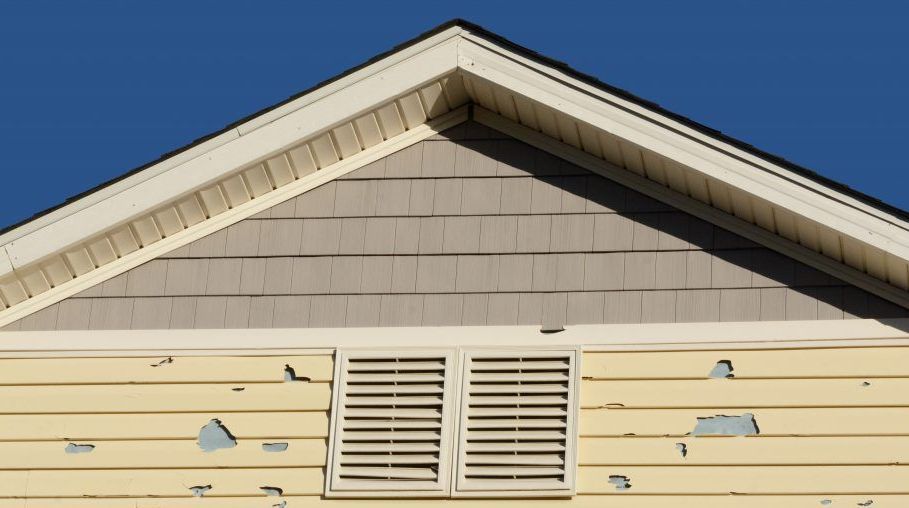
Call A1 Handyman at (208) 995-6457 and request service today. We can help you with more than just a deck repair, too. From drywall repair to fence repairs and much more, A1 Handyman can knock out your "To Do" list for you!
Related Content:
- Deck Repair Services
- Fence Repair and Installation
- Deck Improvements
- Siding Repair and Maintenance
- Power Washing
- Summer Deck Party Advice
- Budget Deck Repair Services
- Siding Repair and Installation